Power
150 kW
(204 HP)
0-100 km/h
8.0 s
Top Speed
160 km/h
Battery Options
Similar Electric Vehicles
View All budget SUVs →
Aion V
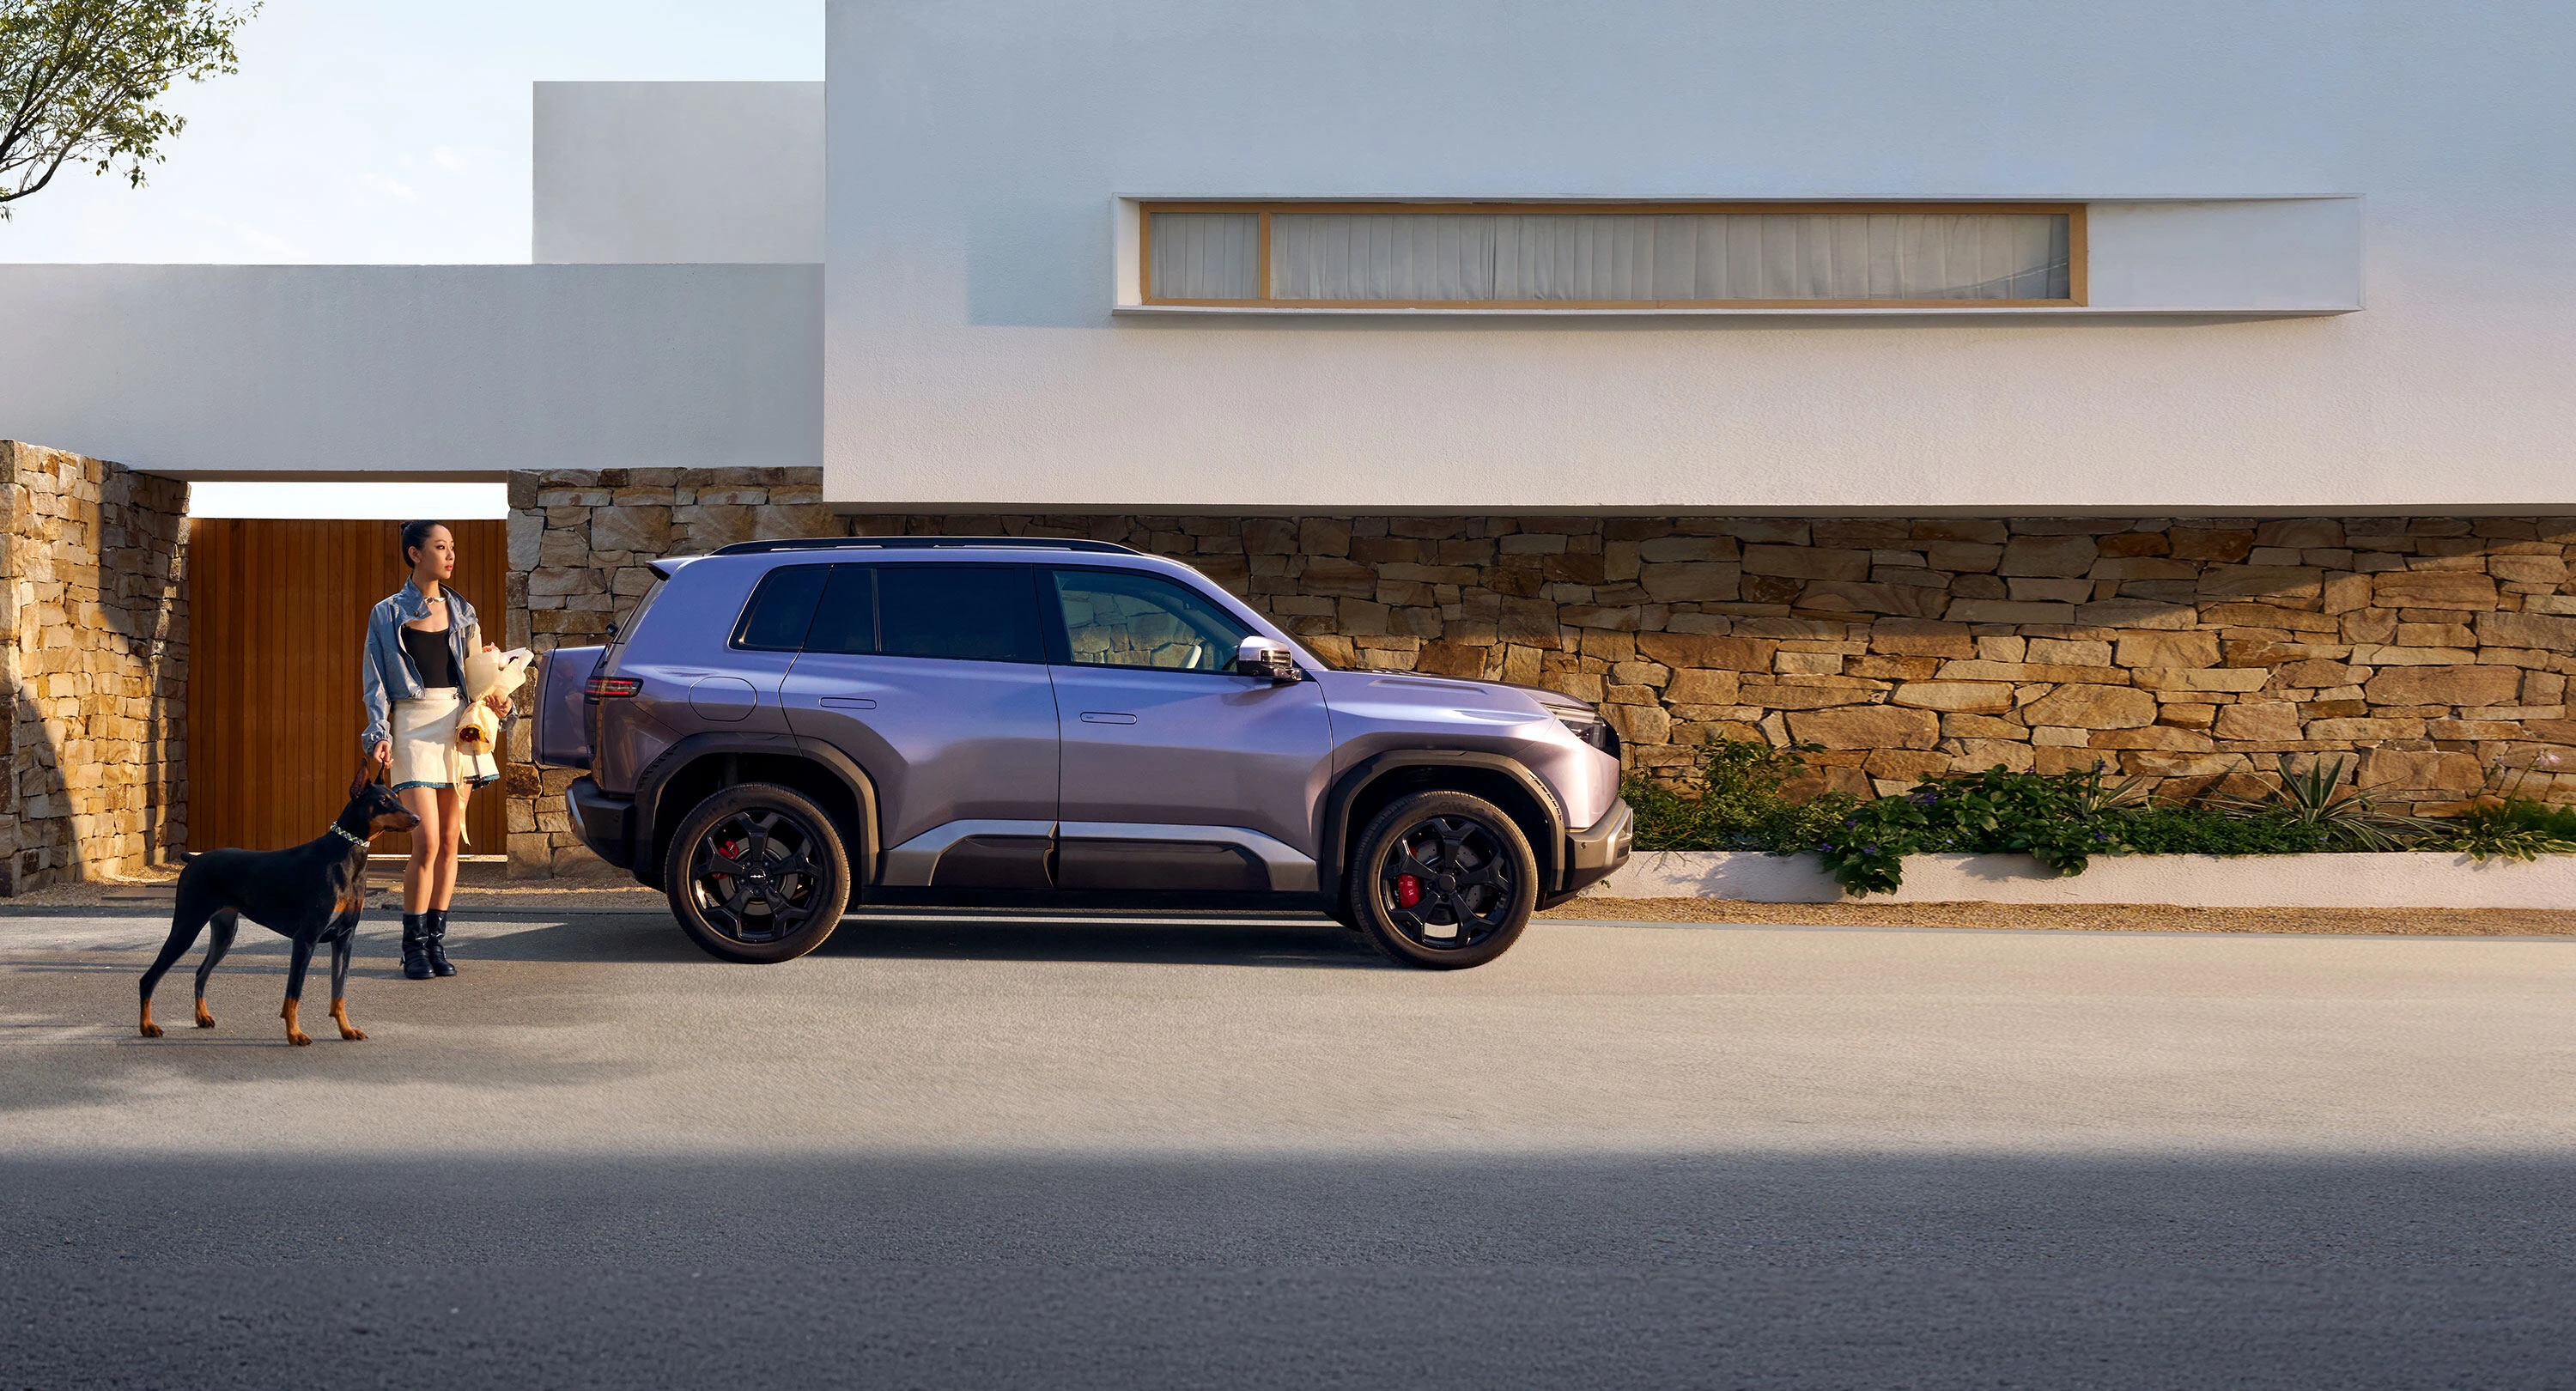
Fangchengbao Tai 3 65 kWh RWD
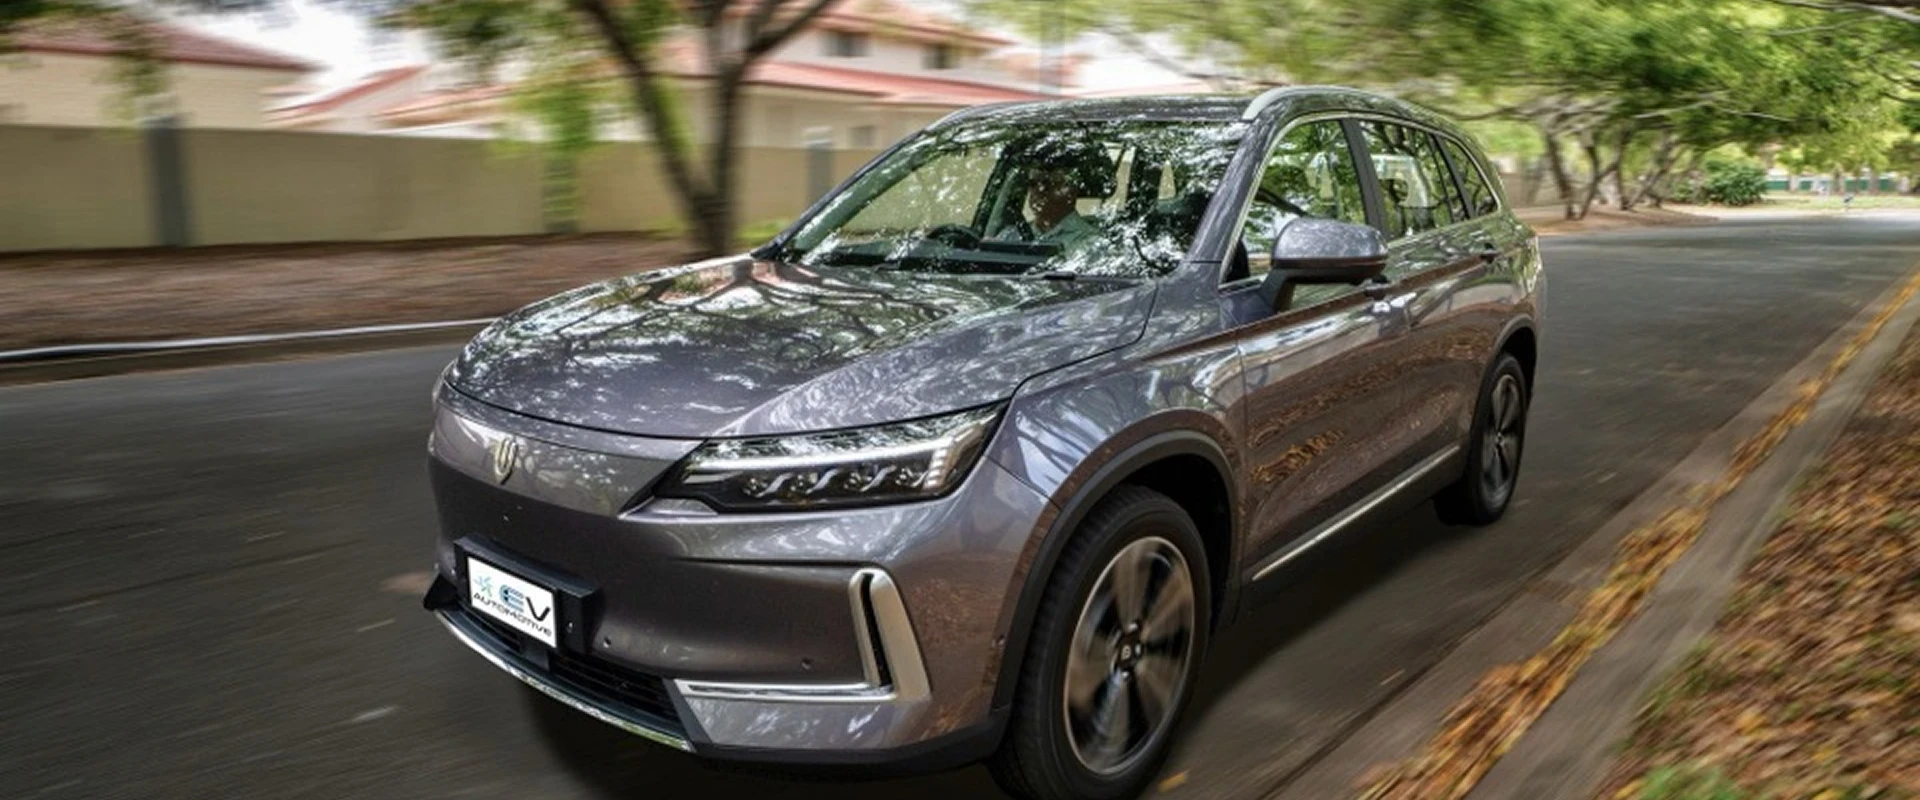
Skyworth BE11 Long Range

iCar V23 401 RWD
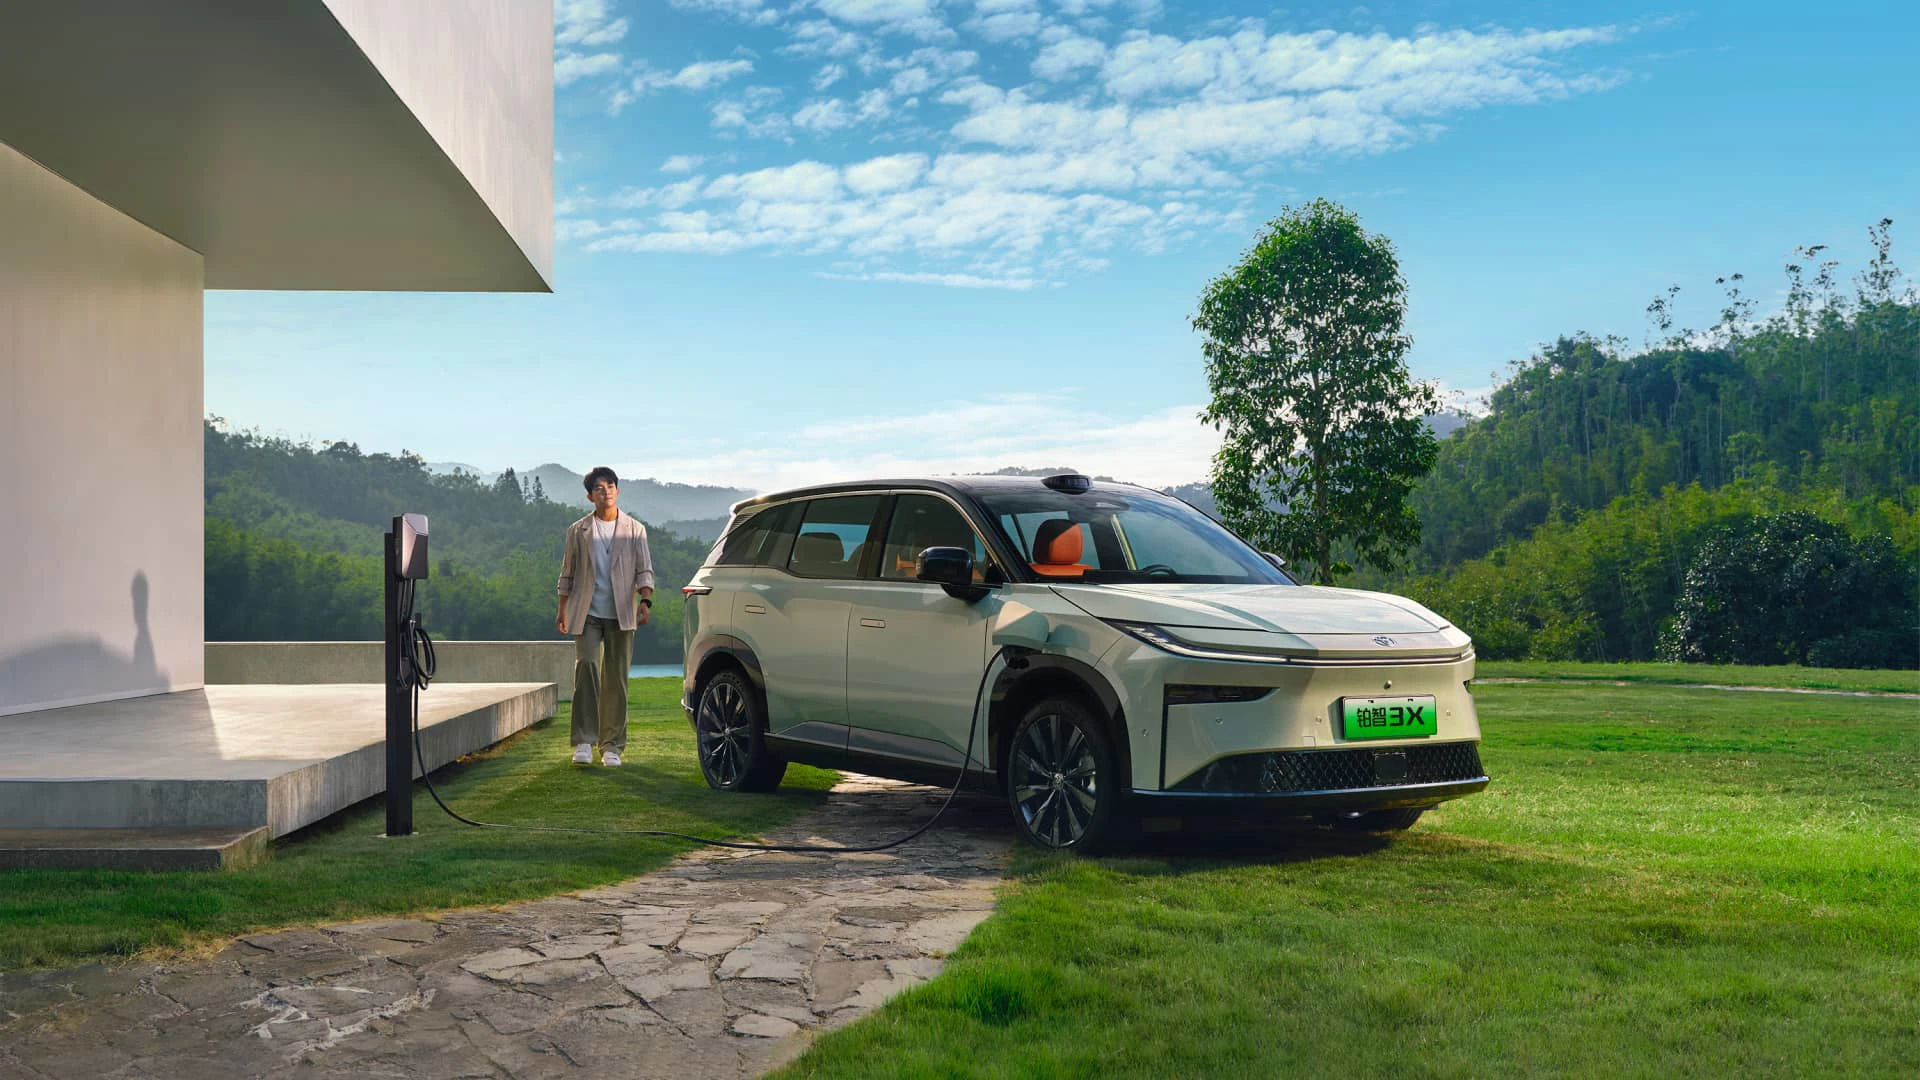
Toyota bZ3X 520 Pro+

iCar V23 550 RWD
Charging Curve & Charging Speed Analysis
Understanding Charging Performance
Charging performance isn't just about peak power—it's about sustained power across the entire charging curve. A vehicle that maintains 150kW from 10-80% SOC will charge faster than one that peaks at 250kW but quickly drops to 100kW after 20% SOC. The shape of the curve matters more than the highest peak power.
The key metric is C-rate, which accounts for both charging power and battery capacity. A C-rate of 2.0 means the battery can theoretically charge from 0-100% in 30 minutes, while 1.0 C-rate equals 60 minutes. This makes it easy to compare vehicles regardless of battery size.
Charging Curve Shape
Flat, sustained power across a wide SOC range beats high peaks that quickly taper off. Look for vehicles that maintain high power from 10-80% SOC.
C‑Rate & Timing
C-rate normalizes charging speed across different battery sizes. Higher C-rates mean shorter charging times and more flexible road trip planning.
Battery Options
Average Charging Power
60 kW
Avg C‑rate: 1.3
Maximum Charging Power
150 kW
At 20 → 44% SOC
Minimum Charging Power
1 kW
0–100% Charging Time
50 min
Charging Curve
State of Charge over Time
| SOC Range | Charging Time | Avg. Power | Avg. C-Rate | Energy Added |
|---|---|---|---|---|
| 0% → 100% | 50 min | 60.2 kW | 1.28 C | 50.5 kWh |
| 0% → 90% | 25 min | 107.5 kW | 2.29 C | 45.5 kWh |
| 0% → 80% | 20 min | 118.9 kW | 2.53 C | 40.4 kWh |
| 5% → 100% | 48 min | 60.0 kW | 1.28 C | 48.0 kWh |
| 5% → 90% | 23 min | 112.0 kW | 2.38 C | 43.0 kWh |
| 5% → 80% | 18 min | 126.1 kW | 2.68 C | 37.9 kWh |
| 10% → 100% | 46 min | 58.7 kW | 1.25 C | 45.5 kWh |
| 10% → 90% | 21 min | 112.9 kW | 2.40 C | 40.4 kWh |
| 10% → 80% | 16 min | 128.7 kW | 2.74 C | 35.4 kWh |